My Kitchen Mosaic Project is done!
Fweuf! Its done.
My kitchen renovation mosaic project took one full week. This is what my kitchen looked like before I began the taping, trimming, mudding, glueing (oh my aching back!)
As you can just barely see, there is a row of off white tiles above the sink. These were put up unbeknownst to my hubby last year! Its been a trial run to see if we liked tiles in the kitchen.
When we first moved here, we the discovered that our front door on the cottage was not a 'normal' size of a door....more like made for a hobbit than my guy's 6 ft plus stature. It worked fine for me, cause I'm a shorty, but the first summer I went crazy with mossy's in every corner of our cottage and like any good women made of good rural stuff, I found a plan online to make a screen door!
What? I should let someone experienced make a screen door? What may be a trying idea to some is common place for the 'maker' in me! Well, girls I not only made a screen door, I made a really good one, perfectly followed the online instructions and everything.
So why I'm blabbering on about screen doors etc is to let you know that I'm the kind of gal who can take on too much!
No way, really?
Yep, the mosaic project was one such project.
The best start is a clean one, so all the little bits and odds and ends needed to be removed before starting.
I have saved all the various tiles I found at our local ReUse Shed. Some of the tiles had to be cleaned themselves of debris on the back, so scrapping the old glue off and removing all the bumpy parts.
As you can see, to make the tiles fit without driving somewhere and paying for someone to actually cut the tiles, I just made it work with broken dish and broken tile 'space filling' and this is behind the stove.
This is a poor photo, but you can see the above the window broken dish mosaic starting to take shape. I had the idea of a wild and wooly plant reaching for the sun with blue mountains in the background starting to look like something.
This is Thursday morning, I had an appt. in town and still did get something done on my mosaic that day. But as I recall, my feet were really glad to be not standing in one place all day!
Then the mudding started on Friday morning. Filling over all the spaces between the tiles and over top of the broken dish parts proved to be challenging. Filling this and that and trying to not make a huge mess was my worse challenge. I'd do it differently next time!
So don't leave the mud to dry completely before removing the part that gets onto the tiles. Its dries fast and you have work fast. But your can see the special mosaic scene I did that was first one since 1982, so I had a few gaps in my memory of the process. So you live and you learn.
Keeping all your tools and various dishes with broken dish pieces ready to work on are paramount to organization for this kind of project! As you can see the filling in with broken dish mini mosaics was just the ticket and all I spent was $12.96 for the grout and $8.99 for the glue.
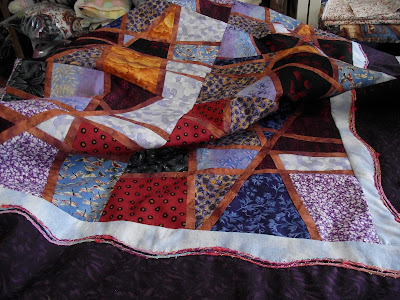
In one of the photo's above you may have noticed the Magic Tiles Quilt behind the dining room table, this is when I was hand quilting it. Heh its one of 2011 UFO finishes!
So this is the final photo of my new kitchen, thanks to Multicolored Pieces blog for prompting me to get on with it! Thanks Nadia!
All the best,
Carli
Carli


Oh my! This kitchen looks so charming with the mosaic tiles and the marbles. It reminds me of the kitchens in Tuscany. I love how you hand cut the tiles into imperfect shapes, making them look like those designs in the old kitchens in Italy. I can tell that you have an eye for interior design.
ReplyDeleteThank you so much, its very lovely to hear my humble tiny Northern BC kitchen reminds you of Tuscany! I'd love to go there someday, its on my Bucket List.
DeleteInteresting distribution site you have. If you'd ever like to have me test out or just do something funky in my cottage, send me some samples and I'll play and post?
Carli